The purpose of this operation is to remove either old and deteriorated pointing/bedding mortar or modern cementious mortars that are causing damage to the building fabric.
The purpose of this operation is to remove either old and deteriorated pointing/bedding mortar or modern cementious mortars that are causing damage to the building fabric.
Always carefully survey the masonry to be re-pointed and check if the whole elevation needs re-pointing or can it be patch pointed.
Before general cutting out proceeds, protect windows and cover drains, vegetation etc. which may need protecting.
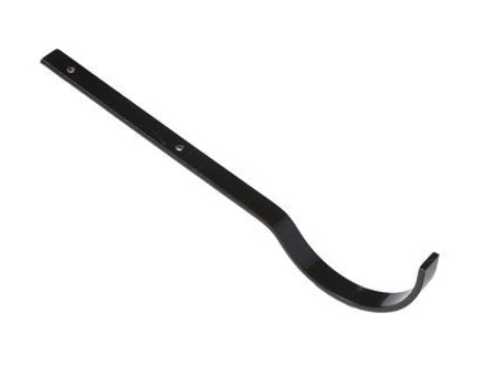
Cutting out of decayed mortar is best carried out in the context of conservation with hand tools. A 2.5lb lump hammer and plugging chisel are best. Cold chisels should not be used because they may wedge in the joints and split the stone or brick. Impact should be at an oblique angle to the face of the joint.
Power tools are to be discouraged as they can cause serious damage to the adjoining masonry particularly in unskilled hands. In certain situations, power tools, such as small power or air chisels, can be effective for removal from larger flat areas, as their percussive action can loosen large flat sheets without the loss or even, potentially, destabilisation of masonry that may result from hacking by hand. Removal must always be undertaken with care and common sense.
Cement pointing should be picked out with care. Narrow joints can often be cleaned out using hand held hacksaw blades. For other joints suitably narrow chisels that will not damage adjacent stones may be used. Where wide joints exist, a series of small holes, carefully drilled along the exact centre line of a joint may allow the cement mortar to break inward when tapped. This technique should not be used where there is a risk of damaging masonry behind the cement, for example in finely jointed ashlar walls.
The work should begin at the highest point and continue downwards.
As a general rule joints are cut out to a depth of twice the width of the joint, quite clearly this rule applies to brickwork, but in the case of rubble masonry this could result in overly deep joints, which may de-stabilise sections of masonry. Therefore a minimum depth of 25mm will allow a good body of re-pointing mortar.
Brushing raked out joints to remove any loose material
Deep joints must be built up in consecutive layers with a minimum of 4 days between coats. Where joints are very wide due to pinnings becoming dislodged then these need to be re-used during pointing. Pinnings are shards of stone that are inserted into wide joints between larger stones in rubble masonry.
During raking out, any pinnings which become loose should be collected and reused.
During raking out, each joint should be squared off to form a suitable recess to take the new mortar
The raked out joints need to be brushed thoroughly with a soft bristle brush to remove any loose material working from top to bottom.
Use a water hose to flush out the joints starting at the top and working downwards. This serves a number of purposes:
It removes any dust etc. left after brushing.
It dampens the bedding mortar and masonry. This reduces the rapid loss of moisture from the pointing mortar due to background suction.
Damping down the wall may need to be repeated a number of times throughout the day depending on weather conditions. This helps to reduce the background suction.
Failure to dampen down the wall surface will cause rapid drying of the pointing mortar causing excessive shrinkage and lead to a weak and powdery finish.
Wetting down the wall before pointing reduces the rapid loss of moisture from the mortar due to background suction


.jpeg)
.jpeg)


.jpeg)


.jpeg)
.jpeg)


.jpeg)


.jpeg)