


.jpeg)
.jpeg)


.jpeg)


.jpeg)
.jpeg)


.jpeg)


.jpeg)


Roundtower Lime
The Forge,
Innishannon,
Co. Cork,
Ireland.
T12 W72X
Links
Products
Thank you! Your submission has been received!
Oops! Something went wrong while submitting the form.
A comprehensive guide to internal lime plastering.
Preparation of the Wall Surface
The successful application, bonding and hardening of lime mortars, requires the background to be clean, free from vegetation, free of contaminants and reasonably dry throughout the wall mass. The wall should be structurally sound and the masonry and bedding mortars in good condition.
The application of various dubbing out coats should not be seen as remedial repair work to the masonry or brickwork background, the replacement of missing or damaged masonry or open joints should be repaired before any plastering of dubbing out coats are applied. Where excessive hollow or unevenness is present the areas should be corrected by use of mortar and stone or brick slips bedded into the mortar, with the aim of presenting a reasonable flat background before plastering commences
Suction Control and Bonding
Before the application of any new lime coatings, hydraulic or non-hydraulic, it is vitally important to check to the degree of suction within the background. Poor or excessive suction can result in a weak bonding with the substrate caused by rapid de-maturing of the newly applied render, which will result in a weak and powdery interface which will lead to later failure and separation. Where there is little or no suction, further action will be required to help bond the coating to the substrate. In situations where suction needs to be controlled, wetting down will be required. On dense blocks or near impervious masonry, simply dampening the surface with a mist spray may be all that is required. On very porous surfaces such as old brickwork considerable wetting will be required. Wetting the wall by use of a hose, working from the top of the structure, downwards, may need to be carried out the previous day or several times throughout the day before plastering commences.
The objective of the suction control is to achieve a thoroughly damp surface, but not wet, i.e., the surface must not have running or standing water remaining on the masonry or brick, this will form a barrier between the coating and substrate, also lime mortars adhere and stiffen through a certain amount of suction.
On dense or near impervious background, it may be necessary to apply a skud coat to the background to act as a mechanical key.
Salt Contamination
Where new lime coatings are to be applied to masonry which is salt contaminated, the masonry should be allowed to dry fully before applying new renders. This will allow salt to be detected on the masonry and mortar joint surfaces, if excessive salt is identified clay or lime mortar poulticing may be required. Specialist advice should be sought.
Salt contaminates should never be washed from the surface, as this will result in the crystallised salt returning to a soluble state and retreating back into the pores of the masonry or brick. Where detected on the masonry surface, the salts should be brushed from the surface and cleaned away from the structure

Techniques of Natural Hydraulic Lime Plastering
The techniques employed in the application of hydraulic lime plasters are to ensure a correct bonding with the background while striving to minimise shrinkage and rapid drying, these techniques should be followed throughout the plastering process. Lime plastering is generally applied in 3 coats, but it is common to find 2 coats or even single coat work in vernacular or early structures. In 3 coat work the first coat on masonry or brickwork is generally known as the scratch coat or render coat, this coat is applied in approximately 10mm thickness. This coat can be applied by use of a steel trowel or thrown onto the wall by use of a harling trowel and then flattened in by the steel trowel. When this coat has firmed up but has not gone hard, the plaster is keyed or scratched up to produce a key for the following coats. The keying up is carried out by use of a lath scratcher or similar toothed instrument and care should be taken not to cut through the plaster coat back to the background.
The keying up is generally in the shape of diamonds of approximately 30mm spacing. This coat should be allowed to harden for 72 hours minimum before further coats of plaster are applied. Before applying the second coat the first coat should be checked for shrinkage cracks, and these should be filled with plaster before proceeding with further coats. Also, before the second coat is applied the first coat should be brushed down to remove any dust which may have blown onto the surface. The first coat should then be damped down to ensure that the second coat is applied to a damp but not wet surface. This second coat is called the floating coat and is the coat which is used to straighten the wall to ensure a flat and even surface, after this coat has been applied, the surface of this coat is scoured up with a timber or polyurethane float.
The purpose of the scouring is to compact the plaster and counteract shrinkage. This process is generally required to be carried out at least twice, during the scouring up, any small holes should be filled before the finishing coat is applied. This coat should also be allowed to dry and harden for 72 hours before applying the final coat.
After once again damping down the floating coat, the final coat is applied. This coat known as the setting coat, is applied in two layers, coat on coat, with the trowel. This coat is applied in a way similar to skimming. This material should be of a wet enough consistency to allow an even spread. Once the setting has been applied, it is scoured in a similar manner as the floating, to counter-act shrinkage and then the surface can be left with a rubbed up rendered type finish or polished smooth with a steel trowel.
General Mix Guide:
Backing Coats 1st and 2nd:
1 Part Roundtower NHL 2 to 2 Parts or 2.5 Parts Washed Sharp Sand. Use of fibre or hair in these coats is recommended.
Or
Roundtower Insulating Plaster (See below)
Finish Coat
1 Part Roundtower NHL 2
1 Part Fine Silica Sand
Or
1 Part Lime Putty
1 Part Fine Silica Sand
Or
Breathaplasta (breathable, quick setting lime plaster)
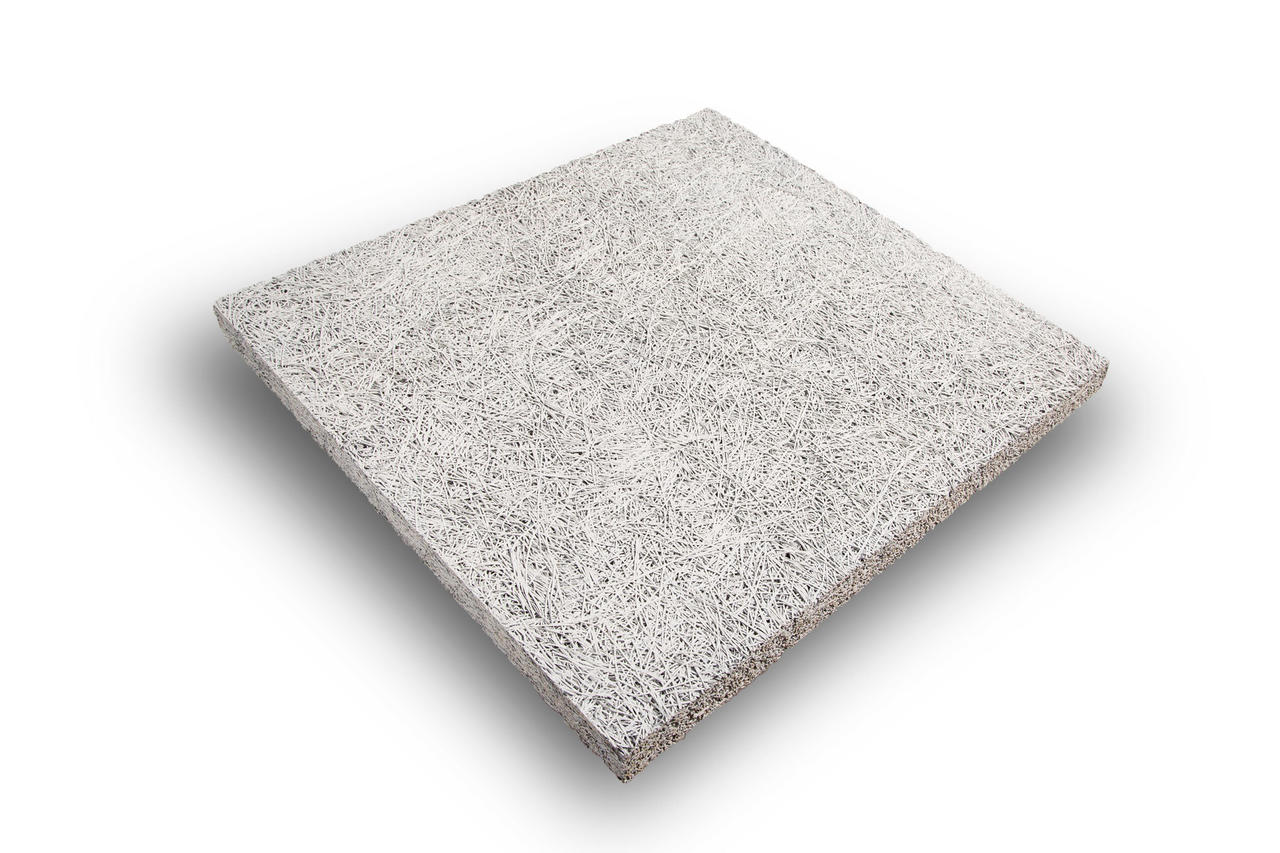
We also offer the Roundtower Insulating Plaster which is a lightweight plaster which offers low strength, high flexibility, high vapour permeability and advanced thermal performance, for use on solid walled masonry.
Roundtower Insulating Plaster is designed to improve the thermal performance of solid walled masonry, whilst maintaining the high vapour permeability and low strength of an NHL2 render. Insulating Plaster offers a viable solution for Part L1B legislation in that it meets the requirements for improving the thermal performance of a wall, whilst maintaining a permeable fabric which absorbs and readily allows for the evaporation of moisture and will not prejudice the character of the host building or increase the risk of long-term deterioration of the building fabric or fittings.
With a measured K Value of 0.12, Insulating Render significantly outperforms similar systems both in terms of performance and cost. A 50mm application will improve the U value of a solid wall by 50% or more, significantly reducing heat loss.
Most available lightweight/insulating materials use aggregates that have a two-dimensional structure, when these are subject to pressure during application the aggregate can breakdown, reducing both the thermal performance and durability of the mortar. Roundtower Insulating Plaster uses a specialist recycled ultra-lightweight hardened aggregate with a three-dimensional structure, which does not breakdown under application and improves both the durability and insulating properties of the render.
Fibre additions improve the flexural strength of the plaster, distributing stresses across the render to help reduce point loading, and negate the need for any mesh to be applied to the wall or inserted within the render. Insulating Plaster can also be used in sustainable construction projects as a basecoat onto natural building materials such as hemp, straw and rammed earth. The insulating properties help reduce the thermal expansion differentials between the background and any subsequent coatings.
If you would prefer to watch Adam speak the Roundtower Insulating Plaster rather than read, you can have a listen to the below:
Please browse our range of lime products here.